Tag Archives: fiber optic transceivers

How to Connect NETGEAR 10G Switch to Your Network?

Share

With the growth of virtualization, cloud-based services and applications like VoIP, video streaming and IP surveillance, SMB networks need to extend beyond simple reliability to higher speed and performance. The NETGEAR ProSAFE XS712T and ProSAFE XS728T switches present the right solution for this requirement, delivering unprecedented non-blocking 10G bandwidth at an affordable cost. Have you ever used NETGEAR 10Gb switch in your network? This article may provide the knowledge of NETGEAR 10G switch deployment and its interface requirement.

NETGEAR 10G Switch Overview
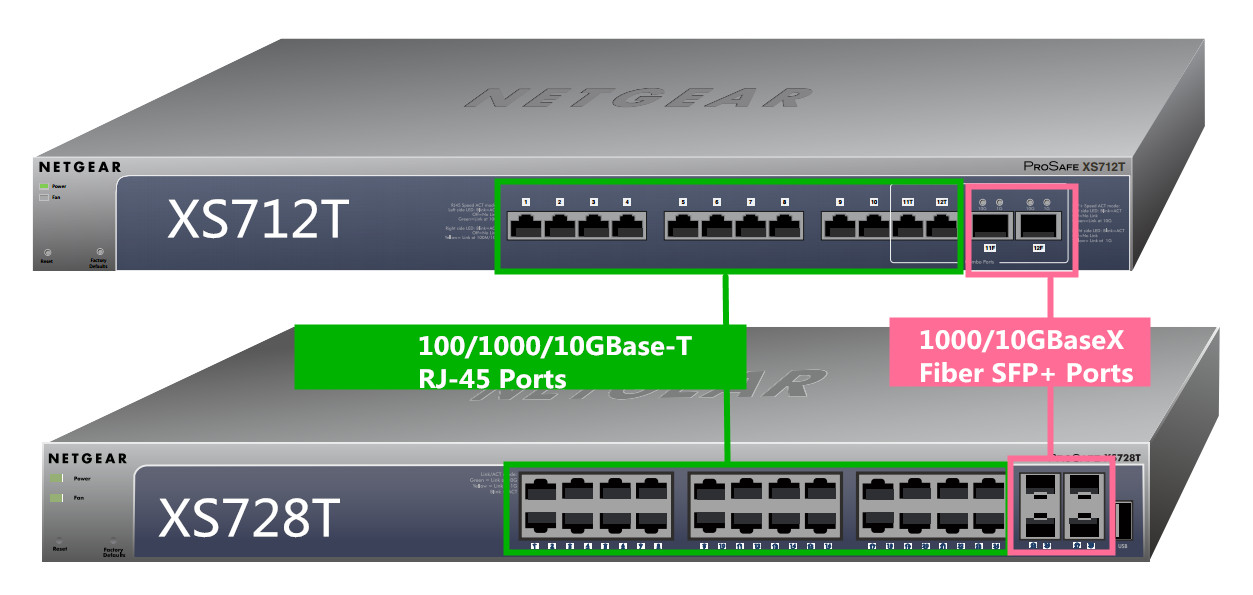
As shown in the figure below, the NETGEAR ProSAFE XS712T and ProSAFE XS728T are powerful smart managed switches that come with either 12 or 24 10G copper ports and either 2 combo SFP+ (XS712T) or 4 additional dedicated SFP+ ports (XS728T) for 10G fiber links. Using these 10G slots, you can create high-speed connections to a server or network backbone. For example, you can connect switches to each other with high-speed links or link them to high-speed servers. Please note that the XS712T can provide 100M/1000M/10G copper connectivity, but the XS728T can only provide 1000M/10G copper connectivity. Fast Ethernet is not available for XS728T switch.

netgear 10g switch

How to Connect NETGEAR 10G Switch to Your Network?
The NETGEAR ProSAFE XS728T and XS712T switch is designed to provide flexibility in configuring your network connections. It can be used as your only network traffic-distribution device or with 100 Mbps (XS712T only ) , 1000 Mbps, and 10 Gbps hubs and switches.

  • Connecting devices to the switch via RJ-45 copper port

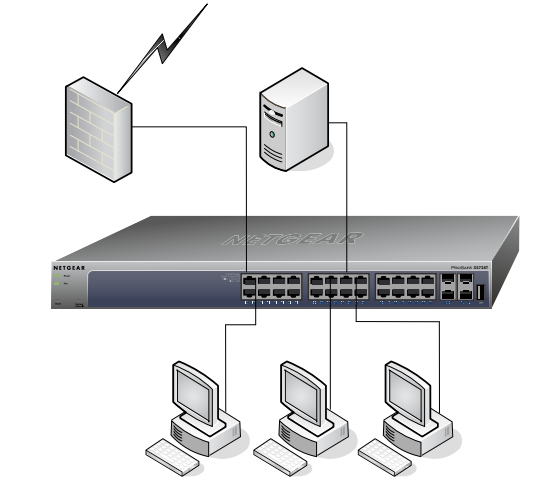
The RJ-45 copper ports of the NETGEAR ProSAFE 10G series switch comply with IEEE 10GBase-T standards. It is backward compatible, auto-negotiating between higher and lower speeds. You can use Category 5e (CAT 5e) or better Ethernet cable (CAT 6, CAT 6a, or CAT 7) to make 10G connections. AMONG, CAT5/CAT5E are supported for Gigabit speeds up to 100 meters. CAT6 twisted pair copper cabling supports 10-Gigabit speeds up to 45 meters. CAT6A or newer CAT7 cabling will allow for up to 100 meter 10GBase-T connections. Desktop switching of NETGEAR ProSAFE XS728T is shown in the figure below.

NETGEAR ProSAFE 10G Series

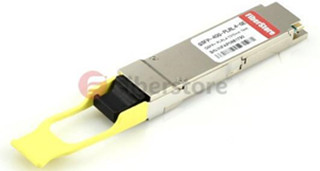
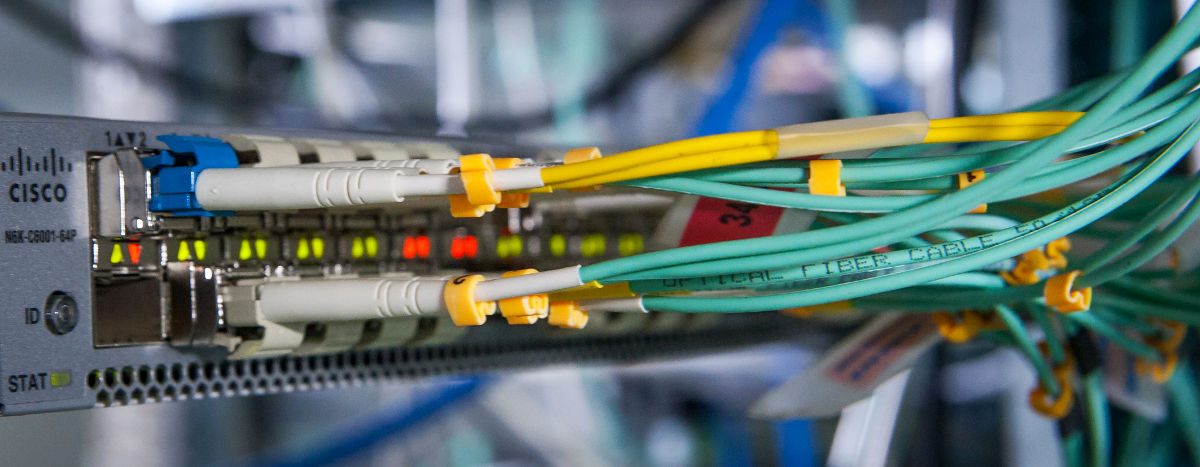
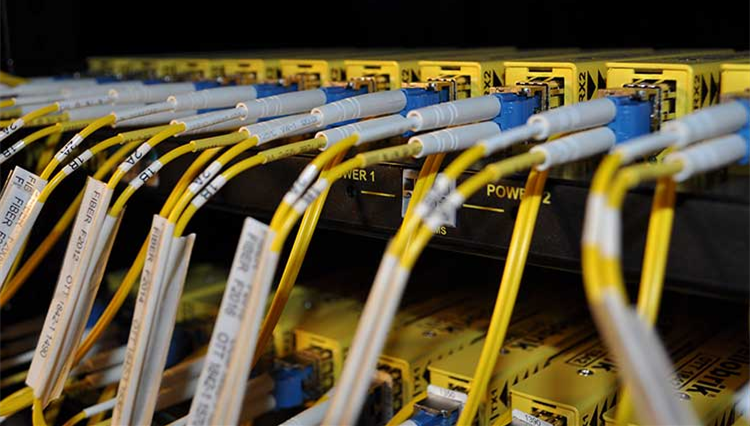
  • Connecting devices to the switch via SFP+ fiber port

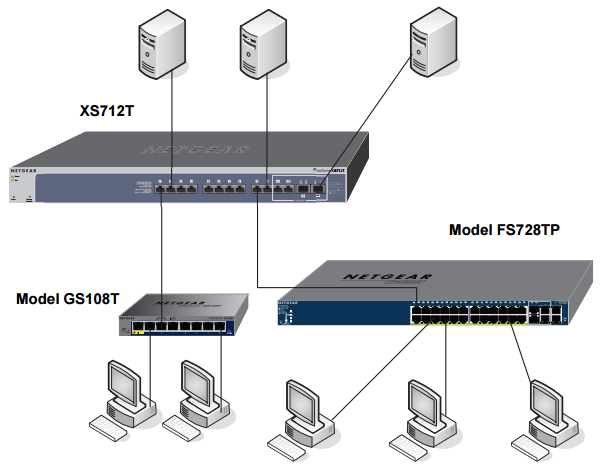
To enable you to use fiber connections on your network (shown in the figure below) , two combo SFP+ ports of XS712T switch and four dedicated SFP+ ports of XS728T switch accommodate standard 1000M and 10G SFP+ transceiver modules. Please note that not all SFP or SFP+ transceiver modules are aavailable for NETGEAR ProSAFE 10G series switch. Following table may give you some guidance for transceiver modules option.

Backbone switching
SFP /SFP+ transceiver modules and SFP+ cables supported for ProSAFE XS712T and XS728T switch

MFG PART# Description
AGM731F NETGEAR 1000BASE-SX 850nm SFP, up to 550m
AGM732F NETGEAR 1000BASE-LX 1310nm SFP, up to 10km
AXM761 NETGEAR 10GBASE-SR 850nm SFP+, up to 300m
AXM762 NETGEAR 10GBASE-LR 1310nm SFP+, up to 10km
AXM763 NETGEAR 10GBASE-LRM 1310nm SFP+, up to 220m (XS712T only)
AXM764 NETGEAR10GBASE-LR Lite 1310nm SFP+, up to 2km
AXC761 1m NETGEAR SFP+ to SFP+ Passive Copper Cable
AXC763 3m NETGEAR SFP+ to SFP+ Passive Copper Cable

Three Ways Fiber Optic Transceivers Promote Data Center

Share

The data center is one of the most critical and dynamic operations in any business. As companies produce, collect, analyze and store more data, IT infrastructures need to grow as well to keep up with the demand. With all the data processing and transmission, it is only critical that every design aspect and component of your data center is properly optimized, including its fiber optic transceiver technology. The fiber optics and other optical components need to meet the bandwidth requirement for storage, switch, and server applications. Now let’s see how will the fiber optic transceivers promote data centers in the future.Fiber Optic TransceiversSmall Package Makes Sense
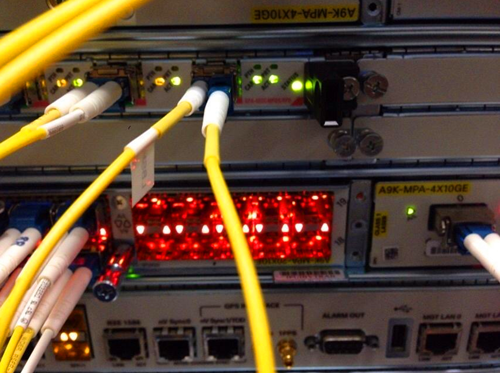
Optical transceivers are becoming smaller, but more powerful, which makes them an important piece in server technology. In fact, even though a transceiver is physically small, it can handle a network expansion or an entire install. This shrinking of fiber optic transceivers allows for the improvement of servers. This reduces the overall footprint of servers and networks, which makes data centers smaller and streamlined. Optical transceivers also require lower power consumption, which means you get lower costs both in terms of design and electricity expenses.

Data Center Makes up Big Transceiver Market
Fiber optic transceivers are always being improved, which can only mean good things for data center managers. According to recent numbers, 2016 and beyond will be huge for the data center market and optical components as more companies require efficiency in their networks. Data centers make up 65% of the overall 10G/40G/100G optical transceiver market. Shipment of 10G transceivers continue to grow, but still has plenty of room to grow, especially as industry experts expect the Datacom optical transceiver market to reach $optical transceivers2.1bn by 2019.

40G and 100G Transceivers Pave the Way
Consumers and technology experts can expect optical transceivers to improve as data centers grow and the cloud industry expands. Manufacturers have introduced fiber optic transceivers that can transmit data at 40Gbps and 100Gbps, while some startups are investing millions in developing technology that can achieve higher speeds. These and other improvements can only mean good things for businesses and consumers.

Significantly improving your company’s IT infrastructure is becoming an essential task, especially in this data-driven world. Optical transceivers and components are some of the little things that definitely can make a big difference in this effort. FS.COM provide a variety of fiber optic transceivers with high quality and low price, from 1000Base SFP to 10G SFP+, 40G QSFP+ and 100G CFP. For more information, please visit www.fs.com.

Understanding Fiber Optic Wavelength

Share

The light we are most familiar with is surely the light we can see. Our eyes are sensitive to light whose wavelength is in the range of about 400 nm to 700 nm, from the violet to the red. But for fiber optics with glass fibers, we use light in the infrared region which has wavelengths longer than visible light. Because the attenuation of the fiber is less at longer wavelengths. This text may mainly tell you the common types of fiber optic wavelength used in fiber optics and why they are used.

wavelength-nm

Fiber Optic Wavelength Definition

In fact, light is defined by its wavelength. It is a member of the frequency spectrum, and each frequency (sometimes also called color) of light has a wavelength associated with it. Wavelength and frequency are related. Generally, the radiation of shorter wavelengths are identified by their wavelengths, while the longer wavelengths are identified by their frequency.

Common Fiber Optic Wavelengths

Wavelengths typically range from 800 nm to 1600 nm, but by far the most common wavelengths actually used in fiber optics are 850 nm, 1300 nm, and 1550 nm. Multimode fiber is designed to operate at 850 nm and 1300 nm, while single-mode fiber is optimized for 1310 nm and 1550 nm. The difference between 1300 nm and 1310 nm is simply a matter of convention. Both lasers and LEDs are used to transmit light through optical fiber. Lasers are usually used for 1310nm or 1550nm single-mode applications. LEDs are used for 850nm or 1300nm multimode applications.

fiber optic wavelength

Why Those Common Fiber Optic Wavelengths?

As mentioned above, the most common fiber optic wavelength includes 850 nm, 1300 nm and 1550 nm. But why do we use these three wavelengths? Because the attenuation of the fiber is much less at those wavelengths. Therefore, they best match the transmission properties of available light sources with the transmission qualities of optical fiber. The attenuation of glass optical fiber is caused by two factors: absorption and scattering. Absorption occurs in several specific wavelengths called water bands due to the absorption by minute amounts of water vapor in the glass. Scattering is caused by light bouncing off atoms or molecules in the glass.

It is strongly a function of wavelength, with longer wavelengths having much lower scattering. From the chart below, we can obviously see that there are three low-lying areas of absorption, and an ever-decreasing amount of scattering as wavelengths increase. As you can see, all three popular wavelengths have almost zero absorption.

wavelength-nm

Conclusion

After reading this passage, you may know some basic knowledge of wavelengths in fiber optics. Since the attenuation of the wavelengths at 850 nm, 1300 nm, and 1550 nm are relatively less, they are the most three common wavelengths used in fiber optic communication. Fiberstore offer all kinds multimode and single-mode fiber optic transceivers which operate on 850 nm and 1310 nm respectively very well. For more information, please visit fs.com.

Related Article: From O to L: the Evolution of Optical Wavelength Bands

Related Article: The Bandwidth and Window of Fiber Optic Cable

How to Install a 40G QSFP+ Transceiver

Share

1The 40G QSFP+ transceiver module is a hot-swappable, parallel fiber-optical module which has four independent optical transmit and receive channels. These channels can terminate in another 40G QSFP+ transceiver and can also be divided out to four separate 10G SFP+ transceivers. The QSFP+ transceiver module can operate on both copper and optical fiber cables. For example, QSFP-40G-SR4 module supports link lengths of 100m on OM3 multimode optical fiber and 150m on OM4 multimode optical fiber. Now, this 40G QSFP+ transceiver is mainly used in short reach applications in switches, routers, and data center equipment. As it provides higher density than 10G SFP+ transceivers, people are more likely to use this effective transceiver in these few years. But do you really know how to install a 40G QSFP+ transceiver? This article may offer you some specific guidances.

In general, there are 8 steps to install a 40G QSFP+ transceiver. As we all know, the QSFP+ transceiver module is a static-sensitive device. So, we always use an ESD wrist strap or similar individual grounding device when handling QSFP+ transceiver modules or coming into contact with system modules. Besides, the QSFP+ transceiver module can have either a bail-clasp latch or a pull-tab latch. In this text, installation procedures for both types of latches are offered. These 8 steps are as following:

Step 1: Attach an ESD wrist strap to yourself and a properly grounded point on the chassis or the rack.
Step 2: Remove the QSFP+ transceiver module from its protective packaging.
Step 3: Check the label on the QSFP+ transceiver module body to verify that you have the correct model for your network.
Step 4: For optical QSFP+ transceivers, remove the optical bore dust plug and set it aside.
Step 5: For transceivers equipped with a bail-clasp latch:
a. Keep the bail-clasp aligned in a vertical position.
b. Align the QSFP+ transceiver in front of the module’s transceiver socket opening and carefully slide the QSFP+ transceiver into the socket until the transceiver makes contact with the socket electrical connector. (Just do as the following picture shows.)

2
Step 6: For QSFP+ transceivers equipped with a pull-tab:
a. Hold the transceiver so that the identifier label is on the top.
b. Align the QSFP+ transceiver in front of the module’s transceiver socket opening and carefully slide the QSFP+ transceiver into the socket until the transceiver makes contact with the socket electrical connector.
Step 7: Press firmly on the front of the QSFP+ transceiver with your thumb to fully seat the transceiver in the module’s transceiver socket. (Just do as the following picture shows.)

3
Step 8: For optical QSFP+ modules, reinstall the dust plug into the QSFP+ transceivers optical bore until you are ready to attach the network interface cable. Do not remove the dust plug until you are ready to attach the network interface cable.

After reading this text, I hope you can get a clear understanding of how to install a 40G QSFP+ transceiver. If you want to know more about this 40G transceiver, you can visit Fiberstore which provides many tutorials about all kinds of fiber optic transceivers. And if you want to buy QSFP+ transceiver, I also recommend you to visit Fiberstore. The fiber optic transceivers they offered are always at low price and high quality.

Related Article: Optical Module Maintenance Methods and Installation Tips

Related Article: FS 40G QSFP+ Modules And DAC/AOC Cables Installation Guide