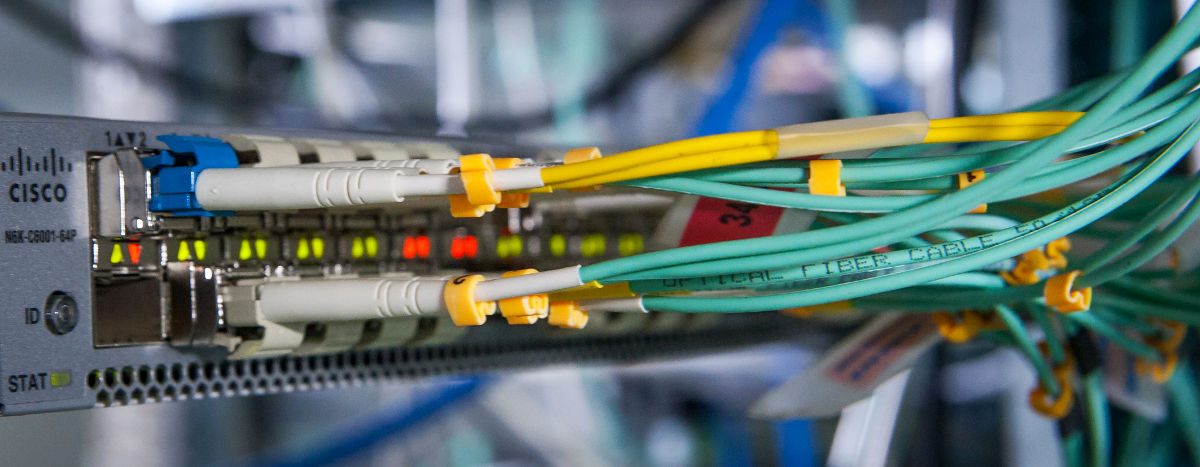

 The 40G QSFP+ transceiver module is a hot-swappable, parallel fiber-optical module which has four independent optical transmit and receive channels. These channels can terminate in another 40G QSFP+ transceiver and can also be divided out to four separate 10G SFP+ transceivers. The QSFP+ transceiver module can operate on both copper and optical fiber cables. For example, QSFP-40G-SR4 module supports link lengths of 100m on OM3 multimode optical fiber and 150m on OM4 multimode optical fiber. Now, this 40G QSFP+ transceiver is mainly used in short reach applications in switches, routers, and data center equipment. As it provides higher density than 10G SFP+ transceivers, people are more likely to use this effective transceiver in these few years. But do you really know how to install a 40G QSFP+ transceiver? This article may offer you some specific guidances.
In general, there are 8 steps to install a 40G QSFP+ transceiver. As we all know, the QSFP+ transceiver module is a static-sensitive device. So, we always use an ESD wrist strap or similar individual grounding device when handling QSFP+ transceiver modules or coming into contact with system modules. Besides, the QSFP+ transceiver module can have either a bail-clasp latch or a pull-tab latch. In this text, installation procedures for both types of latches are offered. These 8 steps are as following:
Step 1: Attach an ESD wrist strap to yourself and a properly grounded point on the chassis or the rack.
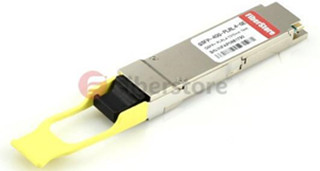
Step 2: Remove the QSFP+ transceiver module from its protective packaging.
Step 3: Check the label on the QSFP+ transceiver module body to verify that you have the correct model for your network.
Step 4: For optical QSFP+ transceivers, remove the optical bore dust plug and set it aside.
Step 5: For transceivers equipped with a bail-clasp latch:
a. Keep the bail-clasp aligned in a vertical position.
b. Align the QSFP+ transceiver in front of the module’s transceiver socket opening and carefully slide the QSFP+ transceiver into the socket until the transceiver makes contact with the socket electrical connector. (Just do as the following picture shows.)

Step 6: For QSFP+ transceivers equipped with a pull-tab:
a. Hold the transceiver so that the identifier label is on the top.
b. Align the QSFP+ transceiver in front of the module’s transceiver socket opening and carefully slide the QSFP+ transceiver into the socket until the transceiver makes contact with the socket electrical connector.
Step 7: Press firmly on the front of the QSFP+ transceiver with your thumb to fully seat the transceiver in the module’s transceiver socket. (Just do as the following picture shows.)

Step 8: For optical QSFP+ modules, reinstall the dust plug into the QSFP+ transceivers optical bore until you are ready to attach the network interface cable. Do not remove the dust plug until you are ready to attach the network interface cable.
After reading this text, I hope you can get a clear understanding of how to install a 40G QSFP+ transceiver. If you want to know more about this 40G transceiver, you can visit Fiberstore which provides many tutorials about all kinds of fiber optic transceivers. And if you want to buy QSFP+ transceiver, I also recommend you to visit Fiberstore. The fiber optic transceivers they offered are always at low price and high quality.
Related Article: Optical Module Maintenance Methods and Installation Tips
Related Article: FS 40G QSFP+ Modules And DAC/AOC Cables Installation Guide